photo IOTFhometab_zps80d0beb6.jpg  photo IOTFaboutmetab_zps0dbfaa58.jpg  photo IOTFcontactmetab_zps6aae20f7.jpg  photo IOTFsitearchivetab_zpsdc170097.jpg  photo IOTFthingsimintotab_zpsf69fa047.jpg
Showing posts with label NOTD. Show all posts

Monday, November 25, 2013

Mani Monday: Vanilla Snowflake


     It's been quite awhile since I've done a Manicure Monday!  Since I've been wearing so many dark vampy colors for fall (if you caught my Autumn Nail Polish post, then you definitely know!) I was feeling inspired to switch into a pretty winter-y look.  My favorite candle from Bath & Body Work's winter collection this year - Vanilla Snowflake is what did the inspiring.

     I don't know what it is about that candle but I've been crazy about it recently.  Last year I was all about 'Tis the Season, but this year I can't get enough of the crisp, clean vanilla smell that has the tiniest hint of mint and coconut in it.  Vanilla Snowflake is so delicate and sweet, that's exactly what I wanted my nails to look like.  I started with Essie's Ballet Slippers - a soft sheer pinkish white and topped that off with a pearly top coat to give subtle sparkle and sheen.  Then I used a simple silver glitter from Forever 21 to create a "falling snow" effect.  I concentrated the glitter on my ring finger and working in light layers made it gradually fade out along my other fingers.

Essie Ballet Slippers, Glitters out of Forever 21 Sheer Opulence Set


Let me know in the comments if you have a favorite winter candle or what you're wearing on your nails!
post signature

Monday, July 22, 2013

Manicure Monday: Sally Hansen Xtreme Wear in Blue Me Away and Staming Flowers


I was feeling very summery when I decided to paint my nails over the weekend.  I was shopping through my nail polish collection and Sally Hansen's Xtreme Wear Nail Polish in Blue Me Away really stood out to me and I instantly knew I had to pair it with white (I used Essie's Blanc). Why not pull out the nail polish stamper and make use of it?

I love that this is a bright cream blue; a really pretty summer color and looks great against my skin. I painted my middle and ring fingers all white and then stamped one big flower on each. Easiest thing in the world but I LOVE how it turned out. The blue contrasts and compliments the white so well. I got quite a few compliments for this look over the weekend.

I will say that the paint on my toes was still perfect, so I left them the same. I didn't paint them to match. Is that weird? It used to bother me unless one was a french manicure or something neutral to match.
Does that bother you? Do I need to stop being lazy?

Wednesday, July 17, 2013

Guest Post for Mommies' Manis

Hey everyone! Nik and Desirae over at Mommies' Manis have found themselves quite busy so I shared a nail look on their blog that is quick and easy but still has the cute I-put-time-in look.
Check the post out here and let me know what you think!

 photo null_zps90501225.jpg

Monday, July 8, 2013

Manicure Monday: Making Sally Hansen Salon Effects Real Nail Polish Strips Go Farther!

 photo Essie-Sally-Hansen-Nail-Strips_zpsbd2ec8b4.jpg


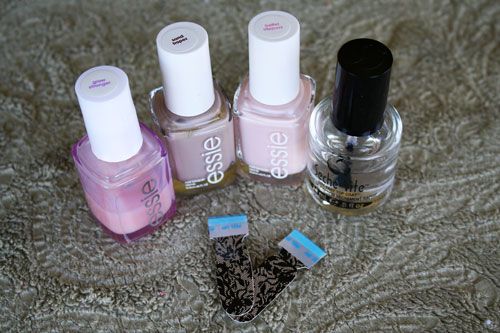
I'm sure all of you have seen those Sally Hansen Nail Strips at the drugstore. If you've tried 'em out I bet you loved them! If you didn't, it was probably because you thought 9 bucks was a little too much for a one time nail look.

I happen to love the nail strips! They last for at least a couple weeks without chipping and are really simple and quick to apply. Because they last so long and I've found a way to get more uses out of them, I can justify buying a whole bunch of them. (That DOES justify stocking up, doesn't it?!)

SO! You've put them on all 10 fingers, they look great, but you find you have some left over. (They come with multiple sizes so that you can match each nail size perfectly) What do you do with those? Throw them away?! Of course not.

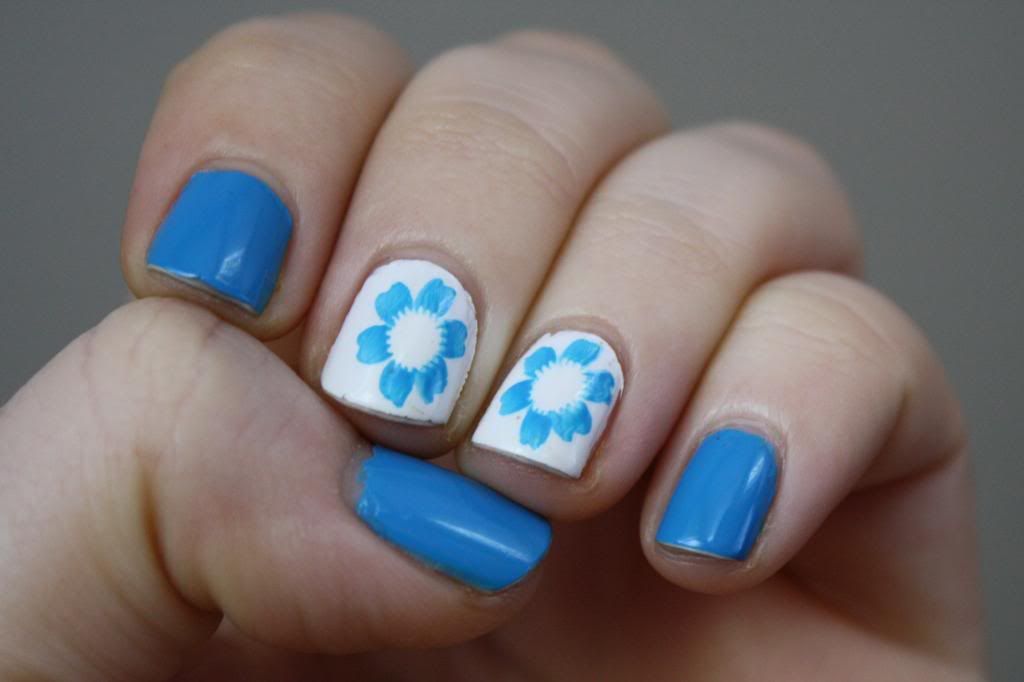
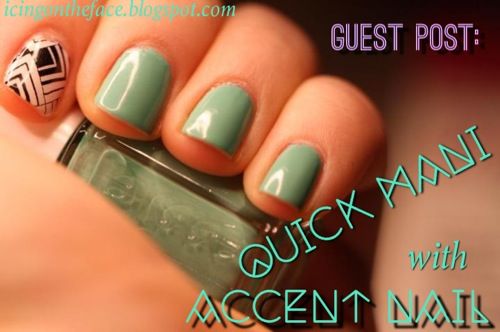
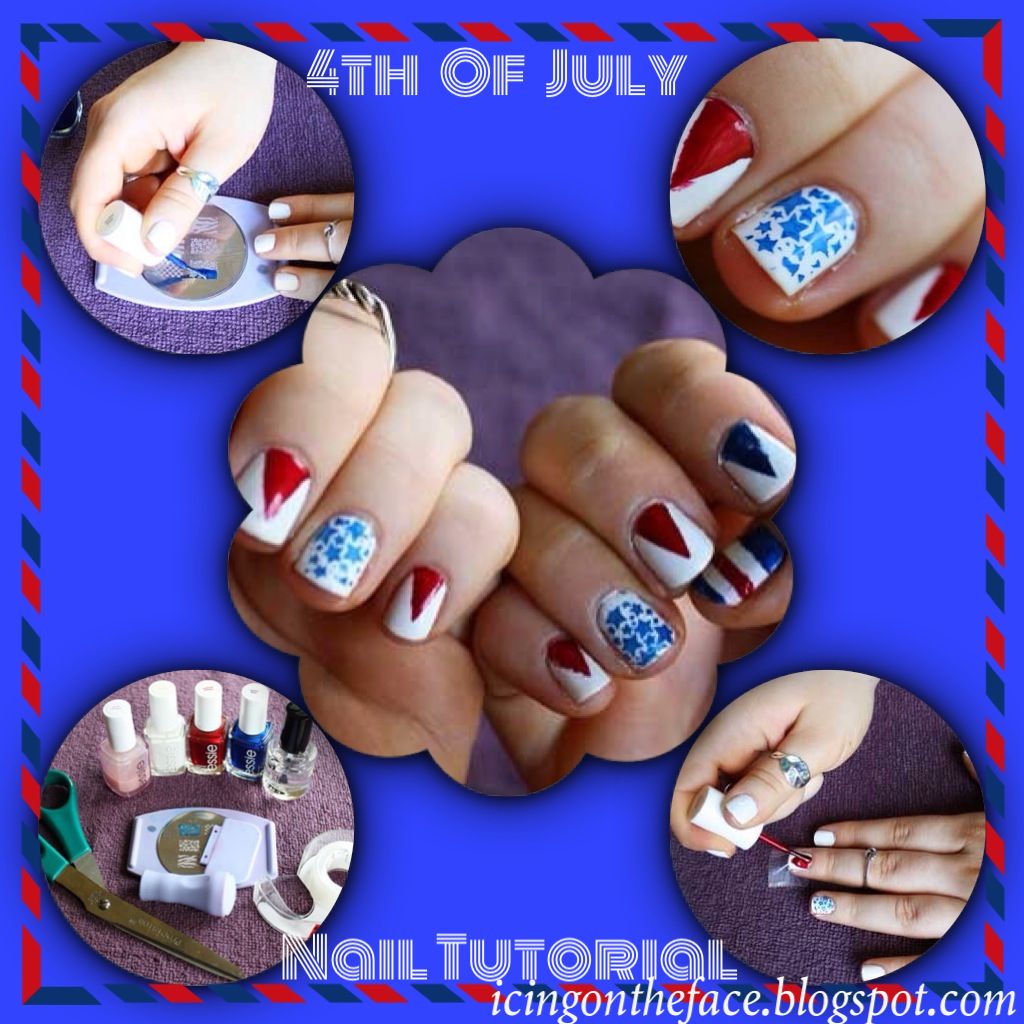
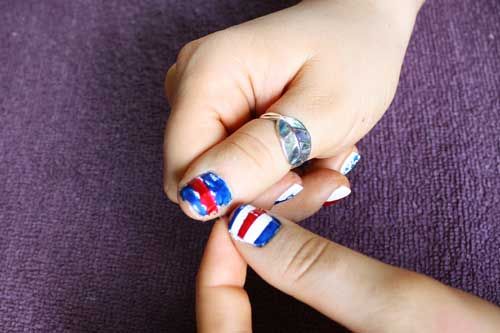
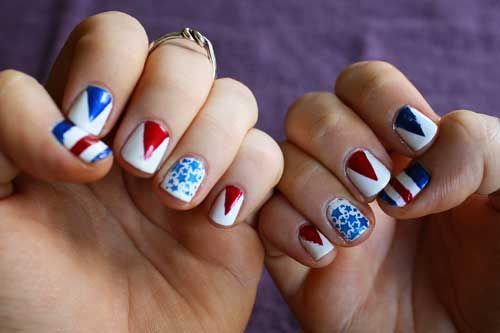
Use them for accent nails!


 photo Essie-Ballet-Slippers-Sand-Tropez_zps49b0b2f5.jpg
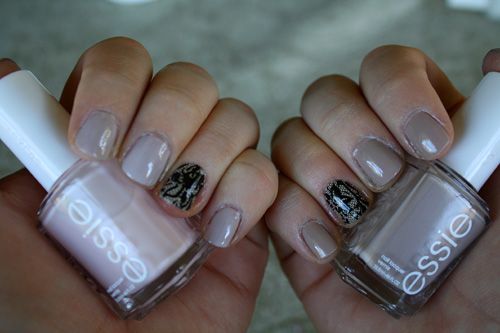
 Left: Essie Ballet Slippers, Right: Essie Sand Tropez


I love doing this because sometimes I just don't feel like doing a bunch of tedious nail art, or breaking out the tape. Nail polish strips are a quick way to get an incredible and fun look without the time commitment. Call me a cheat; that's okay.

Tips:

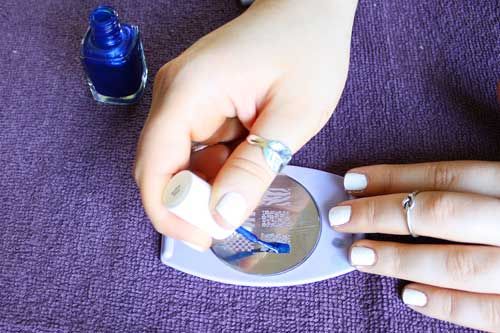
♥ If they're too large for the nail you want to put them on it's really simple to make them fit - I line up one side perfectly and then smooth everything out to the other side. Then I just make sure to really push the overlapping part down into the side of my nail with the flat side of the wooden stick that comes with the Sally Hansen Salon Effects Real Nail Polish Strips. Make sure to keep it flat against your nail and you basically cut off the excess using the crevice between your nail and flesh as a guide.
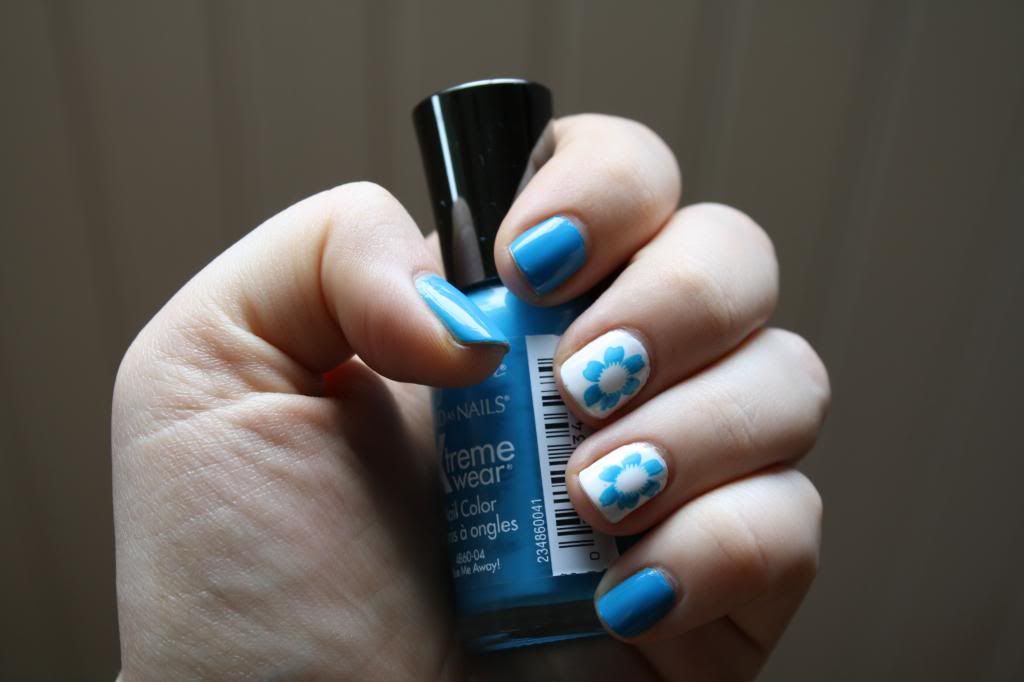
♥ When your nail polish starts to give out just change to another color and keep the nail strips because they will last a great deal longer than your regular nail polish. Changing to another color that goes with the design will create a whole new look! This is why I love designs that go with a lot of different colors. The Tri-bal It On design is my favorite to wear with bright colors for summer

Making them last:

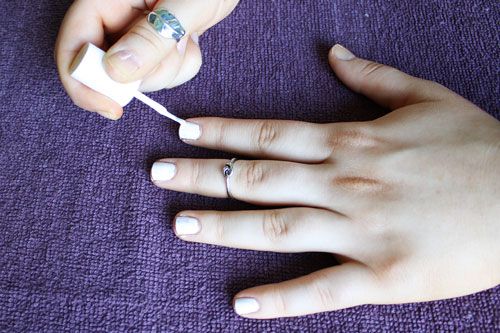
Make sure you apply these onto clean nails; no base coat. Slightly buffing the top of the nail helps the nail polish strip to stay. I also apply a top coat over the strips and make sure to get all of the sides covered because you're more likely to experience peeling rather than chipping with these. I also take the brush to the tip of the nail and seal in that edge too.

Important!

Because these are "real nail polish" strips, they dry like real nail polish! Make sure to put your extras into a zip lock bag with no air to keep them fresh. If you don't, you will find that they just turn into a dried sheet of nail polish - sad day when I discovered that!


Share if you try this! I'd love to see what spin you put on it! Instagram/Tweet @icingontheface

Monday, July 1, 2013

Manicure Monday: 4th of July Nail Tutorial

photo of close up 4th July nail look


Independence Day is this week! I don't know about you, but I always look for excuses to do something special with my makeup or nails. I obviously had to do a 4th of July themed nail tutorial. I've been liking a clean and polished look on my nails recently, so instead of doing crazy, intricate fireworks I went for a color-blocked look. I used green, gray, and orange poli-- no, you already know I used RED, WHITE, AND BLUE nail polish. Grab some scissors and tape and polish those fingers!

photo 4th of July Nail Tutorial Tools.jpg
Here I've got (left to right): Essie Grow Stronger Base Coat, Essie Blanc, Essie Scarlett O'hara, Essie Aruba Blue and Seche Vite Dry Fast Top Coat on the end. 
 
I found this As Seen on Tv Saloon Express Nail Art Stamping Kit at Big Lots for around $6; or you can find it here. It works just like the Konad Nail Art Set that many people love, but it comes with 5 plates and is a really affordable buy.
♥ If you don't have this, no worries! I only used it on one nail! ♥


On To The Tutorial:


 photo Essie-Blanc-Nail-Polish_zps2bf46181.jpg
1. Paint 'em all white! I used two coats for opacity.


 photo Essie-Aruba-Blue-Nail-Stamp-Art_zps384f4a47.jpg
2. Next I stamped a star pattern onto my ring fingers using my blue (Essie: Aruba Blue) 
{{I can do a review/tutorial on this little gadget if anyone is interested; let me know!}}


 photo 4th-July-Nail-Tape_zpsa1ad5092.jpg
3. On to the triangles! Get a piece of tape and stick it on the back of your hand. Leave it there. Wear it around, paint it, show it off. Just kidding; stick it there once and remove to take away a bit of the adhesive so that it doesn't pull off your white polish. You're going to need 6 of these for all of your other fingers. (Excluding ring fingers and thumbs)


 photo 4th-July-Nail-Triangle-Tape_zps8397897b.jpg
4. Cut a triangle into the bottom of the tape in a size that will fit your corresponding nail.


 photo 4th-July-Essie-Nail-Art_zps5b58ee2c.jpg
5. Place the tape on your nail with the bottom edges lining up against your cuticle. I painted my middle fingers and pinkies red (Essie: Scarlett O'Hara) and my pointers blue. Paint it! After only 5 seconds peel the tape off quickly and firmly.


 photo 4th-July-Nail-Art-Tape_zps3a2c78a4.jpg
6. Thumbs! Cut two small strips of tape and place them just a little bit apart on your thumb horizontally. (Underneath the tape will be the white stripes.) Paint two sections blue and the middle one red. Remove the tape just like before.


 photo 4th-July-Nail-Tutorial-Essie_zps506c132d.jpg
 7. BANG! (oooh, ahhh) Paint your fast drying top coat over all of them and these are sure to spark up a conversation this 4th of July (sizzle up some interest, ignite a flame, go out with a bang, sparkle someone's curiousity, dazzle your audience, blow up your ego . . . That was bad.)
Happy 4th of July!